TL;DR:
- Preparing a home for sale involves a systematic process of inspection, decluttering, repairs, staging, and documentation to maximize market value. Starting 4 to 6 weeks before listing allows ample time to complete these steps, which increases offers and accelerates sales. Organized paperwork and professional photos are essential for building buyer confidence and effective marketing.
Preparing a property for sale is defined as the systematic process of decluttering, repairing, staging, and organizing documentation to present your home at its highest market value. Done correctly, this process directly increases buyer offers and reduces time on market. The optimal preparation window is 4 to 6 weeks before listing, giving you enough time to complete inspections, cleaning, repairs, staging, and paperwork without rushing. Sellers who skip this process leave money on the table. This guide walks you through every stage, backed by National Association of Realtors (NAR) data and professional best practices.
How to prepare properties for sale: the essential steps
Preparing a home for the market follows a clear sequence. Skipping steps or doing them out of order creates gaps that buyers and their agents will notice. Start 4 to 6 weeks before your target listing date and work through the following stages in order.
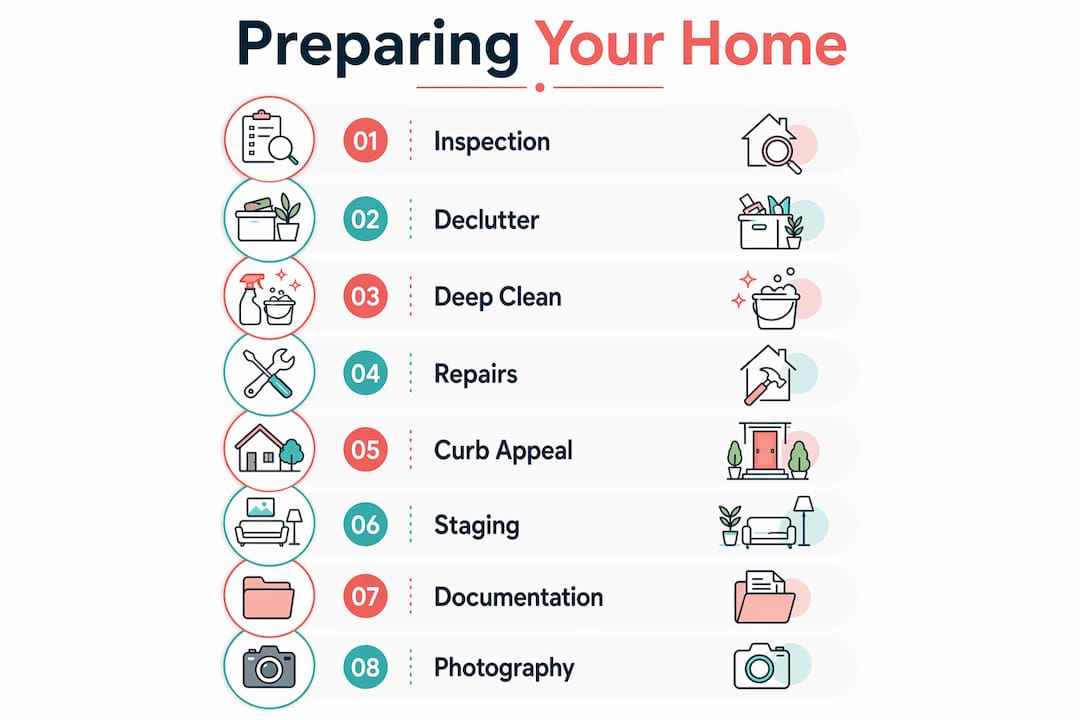
Step 1: Schedule a pre-listing inspection
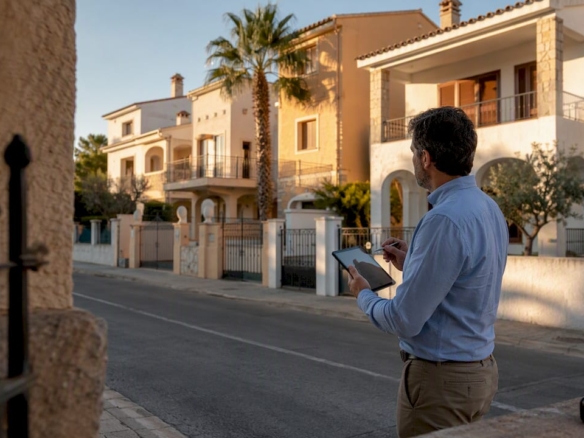
A pre-sale inspection covers structure, roof, plumbing, HVAC, and health-related systems. Most sellers wait for the buyer’s inspector to find problems, which puts you in a reactive position during negotiations. Ordering your own inspection first lets you decide which repairs to make, which to disclose, and how to price accordingly. This control over the repair timeline is one of the highest-leverage moves a seller can make.
Step 2: Declutter and depersonalize every room
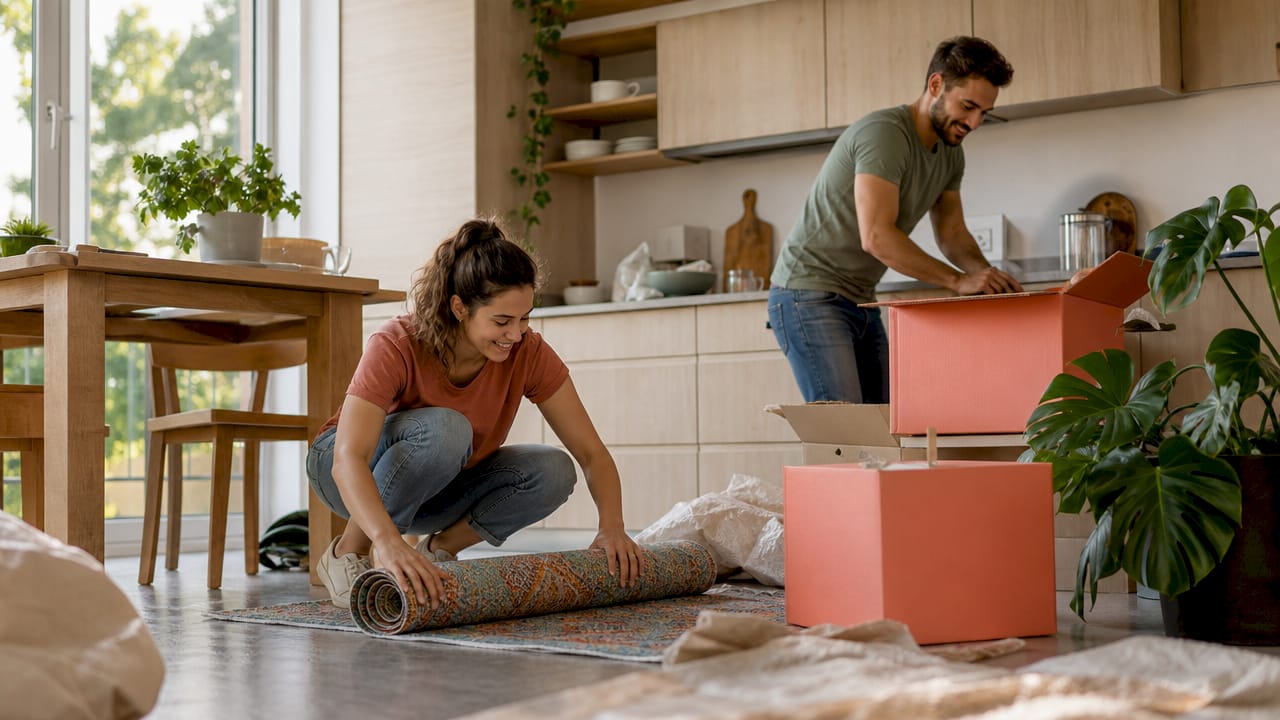
Buyers need to picture themselves living in your home, not you. Remove personal photos, excess furniture, and anything that makes a room feel crowded or specific to your lifestyle. This is not about making the space look empty. It is about creating visual breathing room so buyers focus on the home’s features rather than your belongings. Pay particular attention to closets, garages, and storage areas, since buyers open everything.
Step 3: Deep clean at a professional level
A professionally clean home signals to buyers that the property has been well maintained. Hire a cleaning service for the initial deep clean, then maintain that standard throughout the listing period. Focus on grout lines, baseboards, window tracks, and appliance interiors. These are the details buyers notice when they slow down and look carefully.
Step 4: Make targeted repairs and refresh with neutral paint
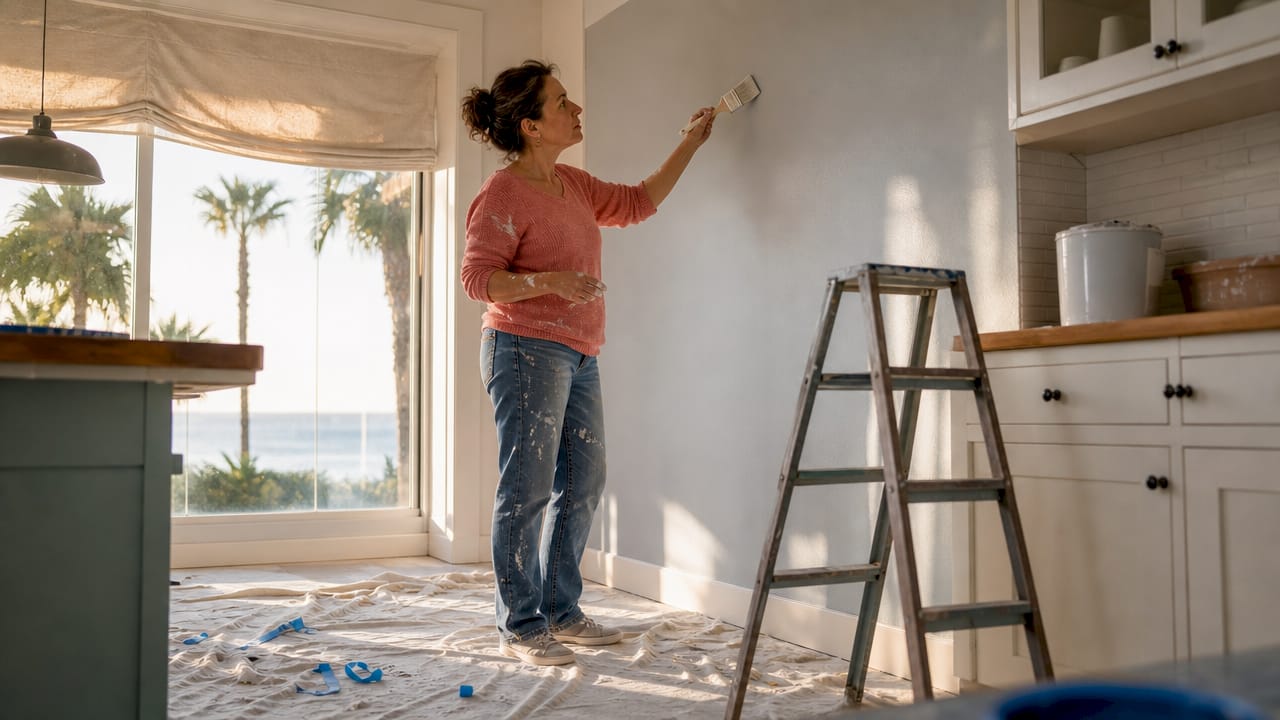
Small repairs and neutral paint produce higher return on investment than major renovations before selling. Fix leaky faucets, replace broken hardware, patch wall holes, and re-caulk bathrooms. Choose paint colors in warm whites, soft grays, or greige tones. These shades photograph well and appeal to the widest range of buyers without feeling sterile.
Step 5: Boost curb appeal
The exterior is the first thing buyers see online and in person. Mow the lawn, trim hedges, pressure-wash the driveway, repaint the front door, and replace any broken exterior lighting. For a villa or larger property, consider adding potted plants near the entrance. Curb appeal improvements cost relatively little but create a strong first impression that sets the emotional tone for the entire showing.
Step 6: Stage the main living areas
Focus staging efforts on the living room, primary bedroom, and kitchen. These three spaces drive buyer decisions more than any other rooms. Arrange furniture to create clear traffic flow, use consistent bedding and towel colors, and remove anything from countertops that is not decorative. You do not need to hire a professional stager for every property, but a one-time consultation is worth the cost for higher-value homes.
Pro Tip: For luxury properties or villas, consider virtual staging for rooms that are currently empty. It costs a fraction of physical staging and dramatically improves online listing photos.
Step 7: Gather all documentation before listing
Collect appliance manuals, warranties, HOA documents, utility bills, and any permits for past renovations. Organizing this paperwork before listing reduces last-minute stress and builds buyer confidence. Buyers and their agents ask questions quickly once an offer is on the table. Having answers ready accelerates the closing process and signals that you are a serious, organized seller.
Step 8: Schedule professional photography
Book your photographer only after all staging and repairs are complete. Professional photos and videos are cited as important by 73% of buyer agents, and 48% of agents use video while 43% use virtual tours as part of their marketing. These numbers confirm that online presentation drives in-person visits. Bad photos of a well-prepared home waste all the effort you put into steps one through seven.
How does staging and presentation influence the selling process?
Home staging is defined by the NAR as neutralizing and depersonalizing a space so buyers can visualize living there. It is not trendy remodeling or expensive redesign. The goal is a clean, neutral, welcoming backdrop that gets out of the buyer’s way.
The financial case for staging is well documented. NAR data shows that staging increases buyer offers by 1% to 10%, with 29% of agents reporting a sale price increase and 49% observing faster sales. On a $500,000 property, even a 1% increase represents $5,000 more in your pocket. That return dwarfs the cost of most staging efforts.
The most recommended agent actions before listing are decluttering, whole-home cleaning, and curb appeal improvement. These three steps cost the least and deliver the most consistent results. Professional staging, virtual staging, and DIY staging are all valid options depending on your budget and property type. For most sellers, a professional consultation combined with DIY execution hits the best cost-to-benefit ratio.
Common staging mistakes that cost sellers money include overcrowding rooms with furniture, leaving personal items visible, neglecting cleanliness in secondary spaces like laundry rooms and hallways, and over-staging with trendy decor that dates quickly. The safest approach is always less rather than more. A room with fewer, well-placed pieces photographs better and feels larger in person.
Pro Tip: Rent a storage unit for the duration of your listing. Moving excess furniture and personal items off-site is faster than deciding what to keep, and it keeps your home consistently show-ready without daily effort.
How to prepare and organize documents for property sale
Document preparation is as much a part of selling as physical staging. Buyers and their agents form judgments about a seller’s credibility based on how quickly and completely you can answer their questions. Disorganized or missing paperwork creates doubt and slows negotiations.
The core documents to prepare before listing include:
- Appliance manuals and warranties for all major systems and appliances
- HOA documents including rules, fees, meeting minutes, and reserve fund statements
- Utility bills from the past 12 months to give buyers a realistic cost picture
- Permits and certificates for any renovations, additions, or structural work
- Pre-sale inspection report if you completed one
- Property tax records and any relevant legal documents tied to the title
A pre-sale inspection report is particularly powerful as a document. It shows buyers you have nothing to hide and reduces the likelihood of surprise findings derailing the deal after an offer is accepted. Sellers who align their repairs with major systems like HVAC, plumbing, and roofing make inspection contingencies far more predictable, which reduces negotiation risk significantly.
Pro Tip: Create a single physical folder and a digital folder with the same documents. Give the physical folder to your agent for showings and keep the digital version ready to email buyers’ attorneys on request.
Organize paperwork systematically before listing rather than scrambling to find documents after an offer arrives. Buyers who receive complete documentation quickly feel more confident in their decision and are less likely to use missing information as a negotiation lever.
What are effective marketing and showing day strategies?
Marketing and showing-day execution are where preparation either pays off or falls apart. A well-staged, well-documented home still loses buyers if the showing experience is inconsistent or the online listing is weak.
Maintain a show-ready daily routine throughout the listing period. This means clearing counters every morning, turning on all lights before showings, keeping floors clean, and neutralizing odors with ventilation rather than heavy air fresheners. Buyers notice when a home smells like it is being covered up. Fresh air and clean surfaces communicate confidence.
For each showing, run through this checklist:
- Clear all high-touch surfaces including kitchen counters, bathroom vanities, and coffee tables
- Turn on every light in the house, including closets and under-cabinet lighting
- Open blinds and curtains to maximize natural light
- Remove pet items, food bowls, and litter boxes from visible areas
- Set the thermostat to a comfortable temperature
- Leave the property during showings so buyers feel free to speak openly
Open houses require additional preparation. Coordinate with your agent on signage, parking, and the flow of traffic through the home. Place your documentation folder in a visible location so interested buyers can review it on the spot. This small detail separates organized sellers from the rest and often prompts more serious follow-up conversations.
For luxury properties and villas, consider coordinating with your agent on a property listing workflow that includes professional video walkthroughs and targeted digital marketing to international buyers. The Costa Dorada market, for example, draws significant interest from buyers in Northern Europe and the UK who make initial decisions entirely based on online content before ever visiting in person.
Key takeaways
Preparing a property for sale requires a structured sequence of inspection, staging, documentation, and consistent showing-day execution to maximize both sale price and speed.
| Point | Details |
|---|---|
| Start 4 to 6 weeks early | Use the pre-listing window for inspection, repairs, staging, and document gathering before photos are taken. |
| Staging drives measurable ROI | NAR data confirms staging increases offers by 1% to 10% and reduces time on market for 49% of sellers. |
| Documents build buyer confidence | Prepare HOA files, warranties, permits, and utility bills before listing to accelerate negotiations and closing. |
| Show-ready daily routines matter | Consistent daily preparation reduces variability in showing quality and keeps buyer impressions positive. |
| Professional photos are non-negotiable | 73% of buyer agents cite photos as important, making photography the final and most visible output of all preparation work. |
What sellers get wrong about preparation
I have worked with sellers across the Costa Dorada market long enough to recognize a pattern: most people spend money in the wrong places and time in the wrong order. The instinct is to renovate. New kitchen, new bathroom, new flooring. But buyers in the current market are not paying a premium for your renovation choices. They are paying for space, light, condition, and location. A freshly painted, deeply cleaned, well-staged home in good repair will outperform a partially renovated home with deferred maintenance almost every time.
The second mistake I see constantly is leaving documentation to the last minute. Sellers treat paperwork as an afterthought, then scramble when a buyer’s attorney requests permits or HOA financials within 48 hours of an offer. That scramble creates doubt. Buyers start wondering what else is disorganized. Preparing your selling documents before you list is not bureaucratic busywork. It is a trust signal.
The third mistake is inconsistent showings. A home that looks perfect on listing day but deteriorates over three weeks of showings loses momentum fast. Buyers talk to each other, especially in smaller markets. A daily routine is not optional. It is the mechanism that keeps your preparation investment working throughout the entire listing period.
My honest advice: spend your budget on a pre-listing inspection, a professional cleaner, a photographer, and a staging consultation. In that order. Everything else is secondary.
— Oscar
Sell your property with Costacambrils
Costacambrils specializes in luxury property sales across Cambrils and the Costa Dorada, offering sellers a full preparation and marketing service that covers pricing strategy, staging guidance, documentation support, and targeted international marketing. If you own a villa, chalet, or premium apartment in the Tarragona region and want to maximize your sale outcome, the Costacambrils team provides a personalized evaluation to identify exactly where your property stands and what preparation steps will deliver the highest return. Start with a luxury property evaluation to get a clear picture of your home’s market position before you list.
FAQ
How far in advance should I prepare my home for sale?
Start preparing 4 to 6 weeks before your target listing date. This window gives you enough time to complete a pre-listing inspection, make repairs, stage the home, and gather all necessary documentation without rushing.
Does staging really increase the sale price?
Yes. NAR data shows staging increases buyer offers by 1% to 10%, with 29% of agents reporting a higher sale price and 49% observing faster sales for staged homes compared to unstaged ones.
What documents do I need to prepare before selling?
Prepare appliance warranties, HOA documents, utility bills from the past 12 months, permits for past renovations, and your pre-sale inspection report. Having these ready before listing reduces negotiation delays and builds buyer trust.
Is a pre-listing inspection worth the cost?
A pre-listing inspection lets you identify and fix issues on your own timeline rather than reacting to a buyer’s inspector findings. This control reduces negotiation risk and makes inspection contingencies more predictable.
What is the most important marketing step for a property listing?
Professional photography is the single most impactful marketing step. Buyer agents cite photos as important in 73% of cases, and strong visual content directly drives the online interest that converts to in-person showings.