Seven moves separate a listing that gets scrolled past from one that gets clicked: declutter and clean every surface, maximize natural light, lead with the front exterior as your hero image, shoot from room corners to capture depth, follow a set order through the house, export at portal-safe specs, and disclose any virtual staging. Do those seven things and you’ve solved most of what makes online listing photos fail. Skip even one, and buyers notice, even if they cannot say exactly why.
Here’s the copyable version for before your shoot:
- Declutter every room to bare-minimum surfaces (counters, tables, floors clear)
- Turn on every light in the house, even during the day
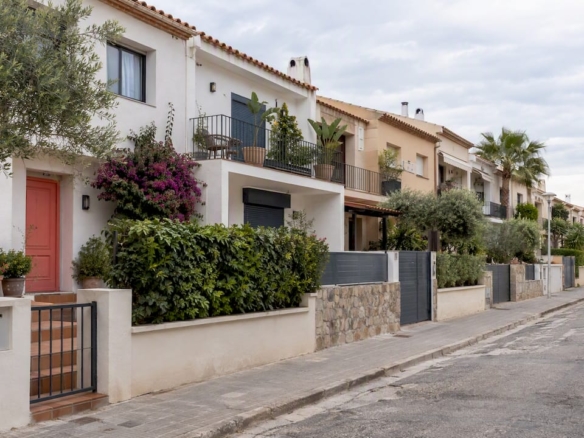
- Photograph the front exterior first, ideally with the best light of the day
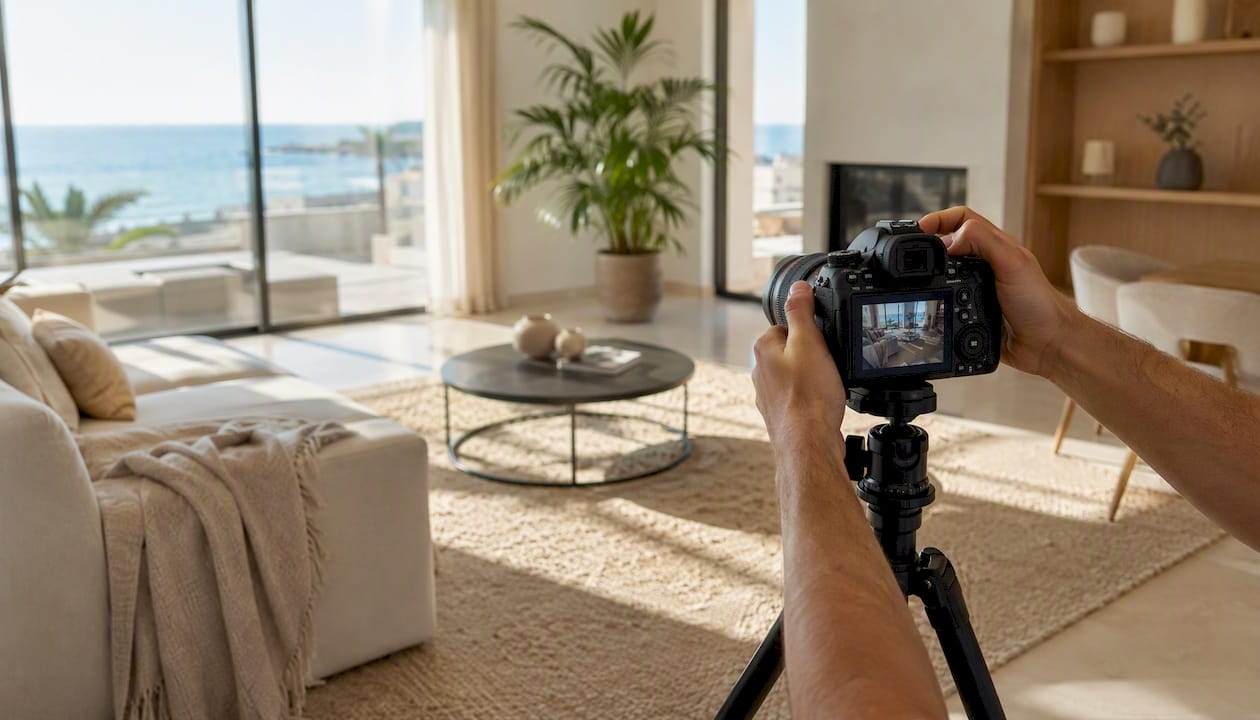
- Shoot from corners, not the center of a room, to show more square footage
- Follow a consistent room order: exterior, entry, living, kitchen, bedrooms, baths, extras
- Export images at a pixel dimension on the long edge that clears most portal requirements, with a 4:3 aspect ratio in sRGB JPG format and a file size comfortably small enough to avoid upload issues
- Caption and disclose any virtually staged image before upload to comply with MLS policies and avoid buyer complaints
Pro Tip: Move trash cans and recycling bins completely out of frame, not just behind a bush. Even a partially visible bin reads as a subconscious signal of neglect, and buyers pick up on it before they consciously register why a photo feels “off.”
Key Takeaways
Listing photos convert when they follow a prepared, well-lit interior, a consistent shot order, and portal-safe export specs applied before upload.
| Point | Details |
|---|---|
| Prep before you shoot | Declutter, deep clean, and depersonalize on a multi-day timeline before the shoot. |
| Shoot in buyer order | Lead with the front exterior, then living spaces, then bedrooms and baths. |
| Export at portal specs | Use 1,920-2,048 px, 4:3, sRGB JPG, under 4 MB to avoid rejections. |
| Disclose virtual staging | Caption staged images and use the MLS disclosure checkbox before upload. |
| Get help when it counts | Costa Cambrils coordinates staging, photography briefs, and MLS-ready exports for sellers and agents. |
Table of Contents
- Pre-Shoot Preparation and Staging Checklist
- Room-By-Room Shot List and Upload Order
- File Specs and Upload Guidance for MLS and Portals
- Phone-First Photography Hacks
- When to Hire a Professional Photographer
- Virtual Tours, 360 Photos, and Walkthrough Video
- Common Listing Photo Mistakes and Fast Fixes
- A Note From Costa Cambrils’ Editorial Team
- How Costa Cambrils Helps You Get Listing-Ready Photos
- Sources
Pre-Shoot Preparation and Staging Checklist
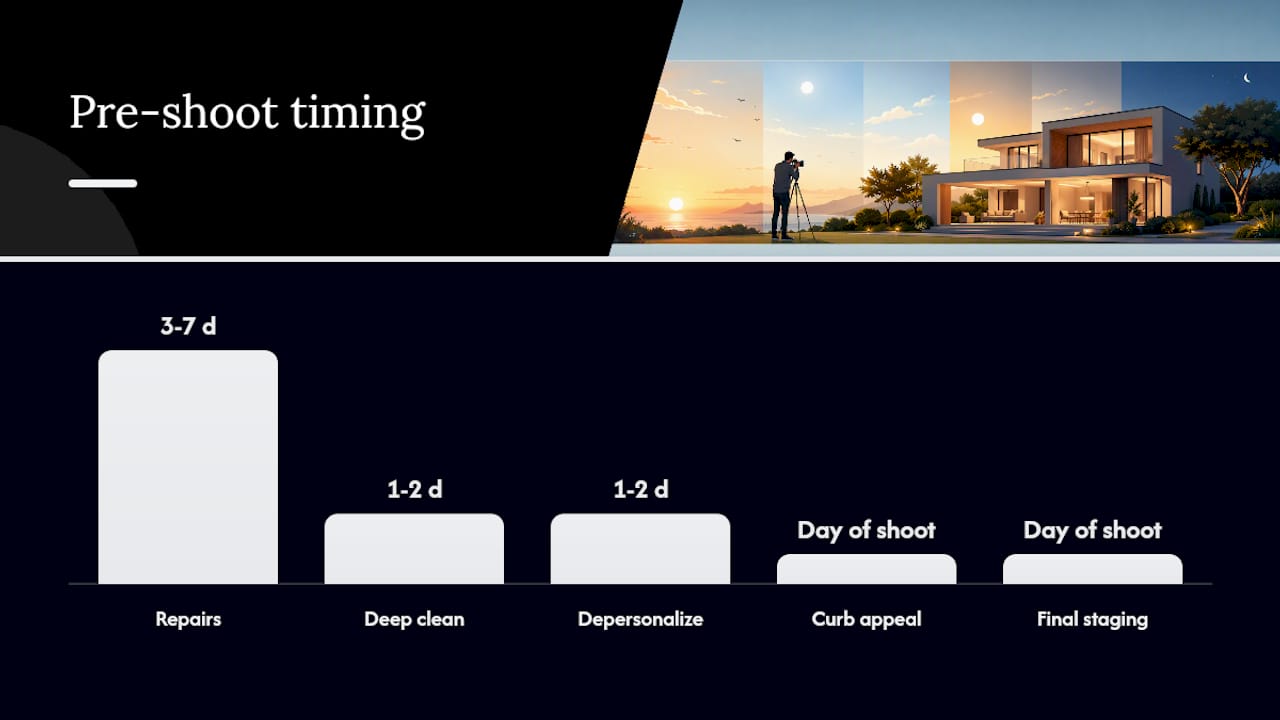
Prep work splits into two windows: what you do the day of the shoot and what needs several days of lead time. Confusing the two is the most common reason sellers end up rescheduling.
Same-day tasks are quick fixes: clearing countertops, making beds, hiding cords, and running a final walkthrough with fresh eyes 30 minutes before the photographer or your phone comes out. Longer-lead tasks need three to seven days: patching nail holes, replacing burnt-out bulbs with matching color temperature, deep-cleaning grout and glass shower doors, and mowing or trimming the yard so it has time to look intentional rather than freshly mowed.
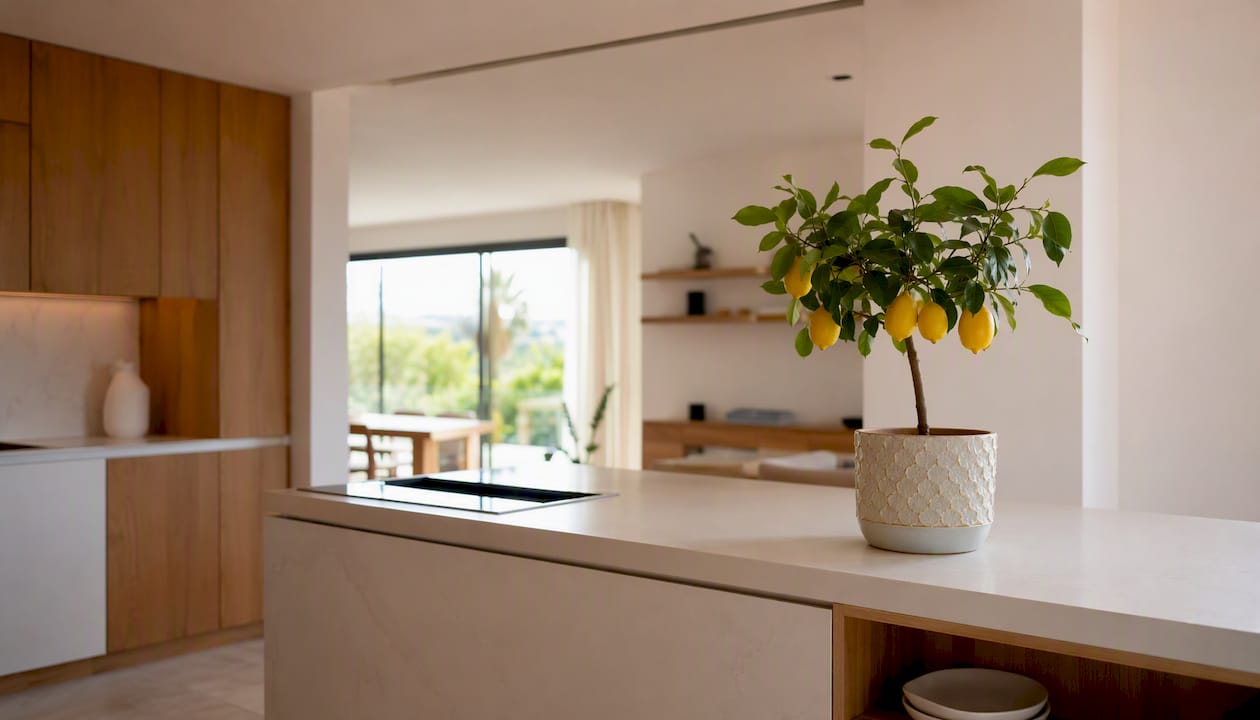
Staging itself doesn’t require a professional stager for most listings. Depersonalizing (removing family photos, kids’ artwork, and religious or political items) and neutralizing color (swapping a bold accent pillow or throw for something neutral) do more for buyer perception than adding new furniture ever will. One plant and one styled tray on a kitchen island reads as “lived in and cared for.” Ten decorative objects reads as clutter.
| Prep Category | What to Do | Timing |
|---|---|---|
| Repairs | Patch holes, replace bulbs, fix loose handles | 3 days before |
| Deep clean | Bathrooms, kitchen surfaces, glass, floors | 1-2 days before |
| Depersonalize | Remove photos, personal items, excess decor | 1-2 days before |
| Curb appeal | Mow, sweep walkway, remove bins, tidy entry | Day of shoot |
| Final staging | One plant, one tray, neutral linens | Day of shoot |
Pro Tip: Bins are the single most underrated fix on this list. Take them off-property or into the garage entirely, not just out of the main frame, since a corner shot from a different angle can still catch them.
Room-By-Room Shot List and Upload Order
The order you upload photos matters as much as the photos themselves, because most MLS and portal workflows expect a front-exterior hero image followed by the primary living spaces, and buyers browse galleries in that same top-down sequence.
Here’s the sequence that maps to how buyers actually scroll:
- Hero exterior — front of the home, ideally at golden hour, landscape orientation, shot slightly off-center for depth
- Secondary exterior — backyard, pool, or side angle showing lot size
- Entrance/foyer — sets first impression of the interior, shot from the doorway looking in
- Living room — wide corner shot capturing ceiling height and natural light
- Kitchen — one wide shot plus one detail shot of counters or an island feature
- Primary bedroom — corner shot showing bed placement and window light
- Primary bathroom — vanity and shower/tub in one frame if the room allows
- Additional bedrooms and bathrooms — one wide shot each, consistent framing
- Extras — garage, laundry, home office, or a view if the property has one
- Floor plan — placed last, gives buyers the spatial context photos alone can’t
Shoot every room from a corner rather than the doorway center. It’s a small habit shift that consistently makes rooms look 15 to 20 percent larger in the frame, and it gives you two walls plus the ceiling line, which is what makes a space read as spacious instead of boxed in.
File Specs and Upload Guidance for MLS and Portals
Most listing rejections come down to file specs, not photo quality. A practical universal baseline that clears most MLS and portal checks is 1,920 to 2,048 pixels on the long edge, a 4:3 aspect ratio, sRGB color space, JPG format, and a file size comfortably under 4 MB. Realtor.com specifically recommends 2048×1536 pixels at 4:3, while keeping files under roughly 2 MB, which tells you the safest move is to aim for the tighter number rather than the loose one.
Orientation matters more than most sellers expect. Landscape is required, not optional, on nearly every major portal, and the first image in your set becomes the cover photo automatically on most systems, so it needs to be your best exterior shot, not whatever happens to be first alphabetically in your camera roll.
| Spec | Recommended Setting | Why It Matters |
|---|---|---|
| Long-edge pixels | 1,920-2,048 px | Sharp on thumbnails and full view |
| Aspect ratio | 4:3 | Safest fit across MLS and portal crops |
| Color space | sRGB | Consistent color across devices |
| File format | JPG | Universal support; convert HEIC before upload |
| File size | Under 4 MB (2 MB for Realtor.com) | Avoids upload rejection |
| Orientation | Landscape only | Required by nearly all boards |
A clean export workflow keeps you organized across dozens of images: a master folder with full-resolution originals, an MLS export preset at the specs above, and a separate marketing folder for social and print at higher resolution. If any photos are virtually staged, caption them clearly and disclose it in the listing remarks. Most MLS systems now have a dedicated checkbox for this, and skipping it risks a policy flag.
Pro Tip: iPhones default to HEIC format, which most MLS systems reject outright. Batch-convert your whole folder to JPG before upload, and check every image opens correctly on a different device before you submit.
Phone-First Photography Hacks
You don’t need a camera to get listing-ready shots. You need a few settings changed and one habit fixed: stop hand-holding your phone at the widest angle.
Lock your exposure before you shoot by tapping and holding on the brightest window in the frame, which prevents the sky from blowing out while the room stays dark. Turn off portrait mode entirely for interior wide shots since it blurs edges you actually want sharp. Turn on your camera’s grid lines and level indicator so verticals stay straight, and if your phone has a wide or ultra-wide lens, use the standard wide lens for most rooms rather than the ultra-wide, which distorts straight lines near the frame edges.
- Lock exposure on the window, not the room interior
- Disable portrait/bokeh mode for interiors
- Use grid lines and the level tool for straight verticals
- Brace against a doorframe or use a tabletop tripod instead of shooting hand-held
- Use a two-second timer or a remote shutter to eliminate camera shake
- Edit for exposure balance and white balance before touching saturation
- Skip filters entirely; portals penalize obviously edited color casts
Homeowner photography checklists consistently show that decluttering, staging, and correct timing move the needle on click-through rate more than camera gear does. A clean, well-lit phone photo shot from a tripod at the right time of day beats a cluttered room shot on a $2,000 camera.
When to Hire a Professional Photographer
DIY works fine for straightforward rentals and mid-market listings where speed matters more than polish. Hiring a professional makes sense once you’re marketing a property above the local median price point, listing something architecturally distinct, or trying to justify a premium asking price where buyers expect gallery-quality images before they’ll book a viewing.
Costs vary by market and package, but most standard listing shoots fall into a flat-rate structure covering a fixed number of edited images plus a same-day or next-day turnaround, while premium shoots (twilight exteriors, drone shots, or full walkthroughs) run higher and take longer to schedule and deliver.
When you brief a photographer, hand them specifics, not vibes. A workable brief sounds like this: “Shoot the front exterior first, ideally at golden hour. Follow with entry, living room, kitchen, primary suite, remaining bedrooms and baths, then extras. Deliver 25 to 30 edited images at MLS-ready specs, plus a marketing folder at full resolution, and include the floor plan as the final image.” That single paragraph eliminates most of the back-and-forth that causes reshoots.
Virtual Tours, 360 Photos, and Walkthrough Video
Virtual tours earn their cost on complex floor plans, premium listings, and any property likely to attract buyers who can’t visit in person, especially international or out-of-state buyers. They add little value on a simple studio rental or a budget listing where the marginal buyer is comparing on price, not layout.
- Use platforms like Matterport or Kuula for 360 walkthroughs on properties over roughly 2,000 square feet or with unusual layouts
- Keep short walkthrough videos under 90 seconds and shoot them after still photography, not before
- Embed the tour link in the listing description rather than burying it mid-gallery
- Place the tour or video access point near the top of your online listing, right after the hero photo, so interested buyers see it immediately
- Skip a full 360 tour for single-room rentals or listings under a tight marketing budget
A short vertical video clip for social media, separate from the full walkthrough, tends to drive more inquiries per dollar spent than the 360 tour itself, particularly for renters comparing several units quickly.
Common Listing Photo Mistakes and Fast Fixes
Most listing rejections and lost clicks trace back to a short list of repeat offenders, and nearly all of them take minutes to fix once you know what to look for.
| Mistake | Quick Fix |
|---|---|
| Portrait orientation photos | Reshoot in landscape; portals often reject or crop portrait images awkwardly |
| HEIC files from iPhone | Batch-convert to JPG before uploading |
| Wrong aspect ratio | Crop to 4:3 before export |
| Visible watermark or logo | Remove or reshoot without overlay |
| People, pets, or reflections in frame | Reshoot or crop out; most portals reject visible people |
| Undisclosed virtual staging | Add caption and check the staging disclosure box |
A before-and-after worth picturing: a kitchen shot straight-on from the doorway, cabinets cut off at the frame edge, ceiling fixture blown out white. Reshoot the same kitchen from the corner, lights on, exposure locked on the window, and the room suddenly reads twice as large with none of the actual layout changed.
A Note From Costa Cambrils’ Editorial Team
Every recommendation in this guide comes from watching what actually moves listings in a competitive coastal market, where buyers are comparing dozens of similar properties in a single afternoon. The seven-step checklist at the top isn’t theoretical. It’s the difference between a listing that gets an inquiry within days and one that sits untouched for weeks, and the gap almost never comes down to the property itself.
Two things worth reinforcing before you shoot: shoot in the order buyers actually browse, and never skip the disclosure step on staged images. Both cost you nothing and protect you from the two most common complaints agents hear after a sale. Use the brief template in this guide word-for-word if you’re bringing in a photographer, and reach out if you want a second set of eyes before you go live.
How Costa Cambrils Helps You Get Listing-Ready Photos
Costa Cambrils coordinates the photography side of a listing so you’re not juggling a photographer’s schedule, a staging checklist, and export specs on top of everything else that comes with selling or renting. Where a DIY approach means learning MLS specs from scratch, our team already knows what each portal in the Costa Dorada market accepts, and we handle the photographer brief, the staging walkthrough, and the virtual staging disclosure so nothing gets flagged after upload.
Here’s what that looks like in practice: we walk the property with you first, flag quick staging wins, coordinate the shoot timing around the best light, and deliver both an MLS-ready export folder and a marketing set for wider promotion. If your property fits the luxury segment, that polish matters even more, since buyers browsing luxury property types in Costa Dorada are comparing image quality across a small pool of premium listings. If you’re ready to get your property photo-ready and listed, request a briefing call and we’ll walk you through the next steps.
Sources
For readers who want to verify portal specs directly or dig deeper into staging fundamentals, these references back the guidance above: regional MLS photo requirements across the US, Canada, and UK, a full breakdown of MLS export presets and rejection causes, Realtor.com’s specific upload requirements, and a homeowner-focused DIY photography checklist.
For property-specific prep guidance, Costa Cambrils has a seller’s guide to preparing a property for sale, a breakdown of virtual tour formats and buyer use cases, and a property marketing workflow for agents managing multiple listings at once.
- MLS Photo Size & Requirements 2026: Avoid Rejections | PropertyPixel
- Realtor.com Photo Requirements 2026 — Size, Format & Upload Guide | myPixelVault
- Real Estate Photography Checklist for Homeowners: DIY Tips to Sell Faster | HomestagingKI